Crossover tube
Description and parts
This is an external rubber hose connecting the bottom of the left side to the bottom of the right side. The easiest way to picture it is to look at a GS Adventure; it has exactly the same thing. My '74 Honda CL360 has it as well, as do many other bikes. Not exactly rocket science (except maybe to BMW in the 1990s).
A tube is needed because the tank has no internal flow path low enough to let the left side completely drain to the fuel pickup area on the right. This in turn is caused by the geometry of the rear (lowest part) of the tank and how the matching area of the bike is constructed: BMW had the opportunity to add more fuel space low down on each side (a good thing) but couldn't connect them at the back due to the shape of the rest of the bike and styling concerns (bad thing). With the extra fuel of the Adventure tank, the "orphaned" fuel quantity apparently became large enough that corrective action was needed, hence its crossover tube. However, we non-Adventure riders want our orphaned fuel, also!
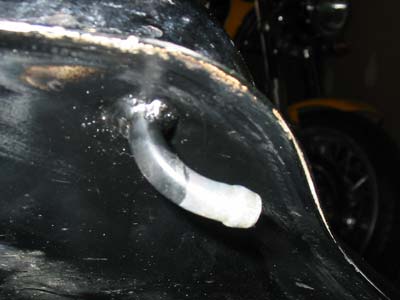
Installing this on a GS requires drilling a hole in the bottom of the tank on each side, welding fittings to the holes, and connecting the two fittings with a hose. There are probably bulkhead fittings (no welding needed) out there, but the problem is that it is very hard to access the inside of the left tank section. With a plastic tank, though, you might be able to thread/glue a fitting in place. I took an old fuel pump assembly and cut some curved pipe ends off. They are mounted at the low spot on each side, on the inside, facing straight backwards. Whereas the Adventure has them about 1.5" above the lowest internal point, mine are are only about 1/2" above (to get more fuel out).
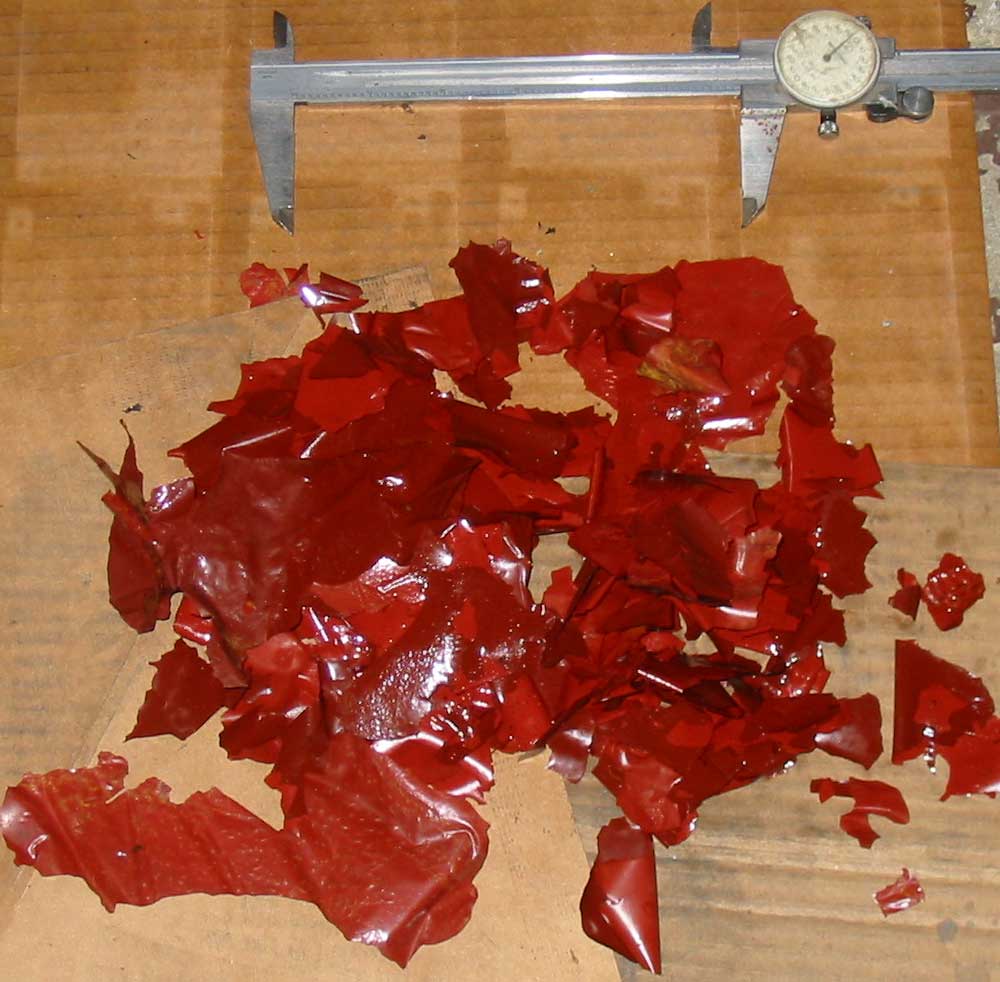
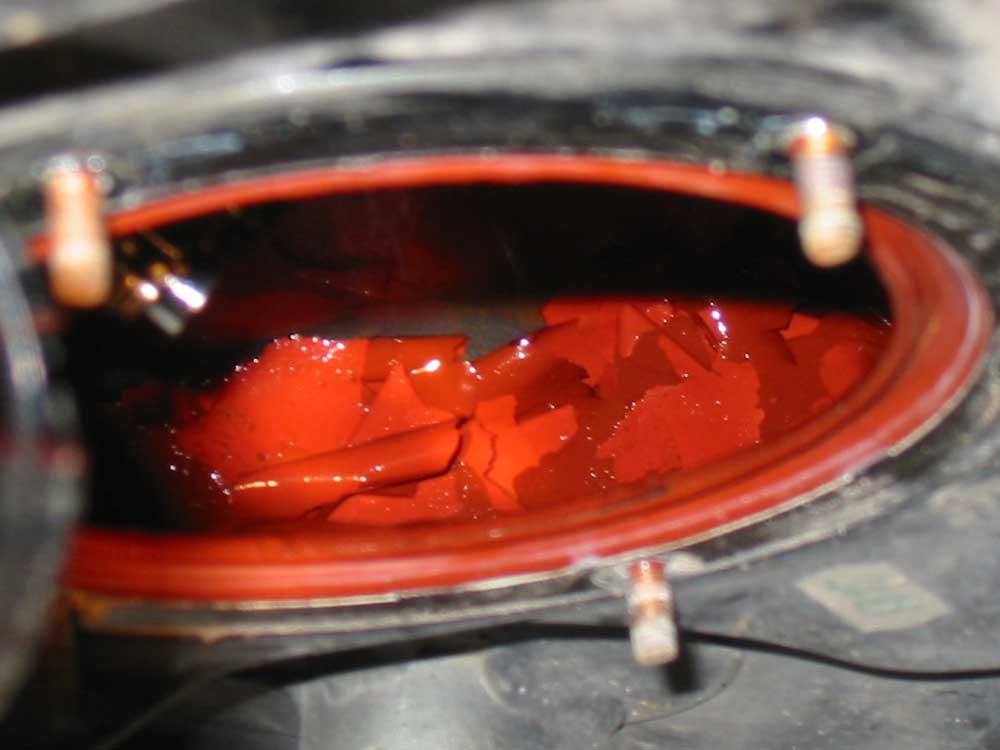
Welding is best left to a pro - the guy who welded this tank filled it with water to reduce the explosion hazard after we washed it out with hot soapy water. One thing to consider is that the metal tanks have a coating of paint on the inside that will be damaged by the welding, and will probably start to peel. On this '98 GS (like many others) the coating had already been peeling and when we opened it up there were handfuls of paint flakes waiting to be removed. I saved some pictures of the paint inside the tank (40k) and on the floor (90k). Without this paint the interior of the tank will start to lightly rust. Treating with an aftermarket sealant like Kreem or POR is probably a good idea.
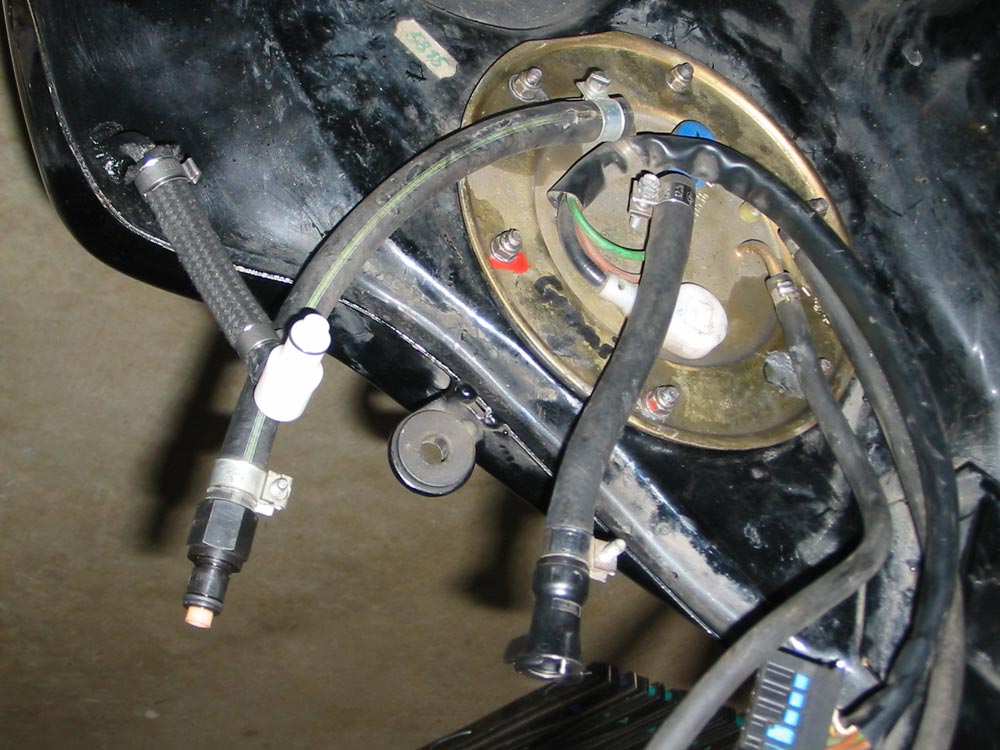
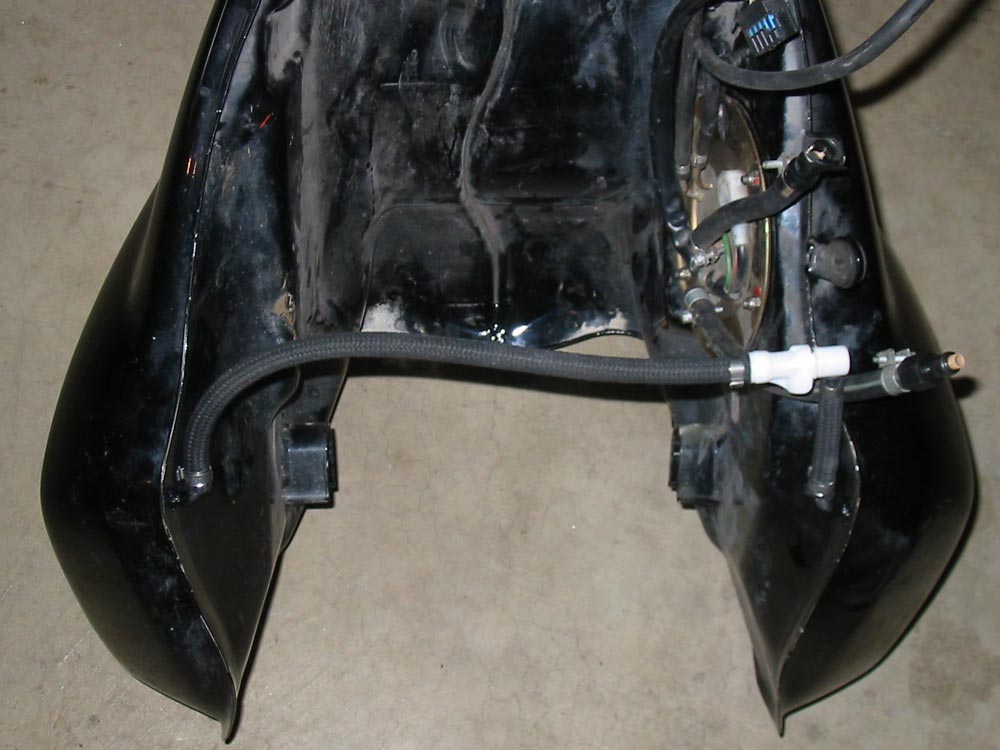
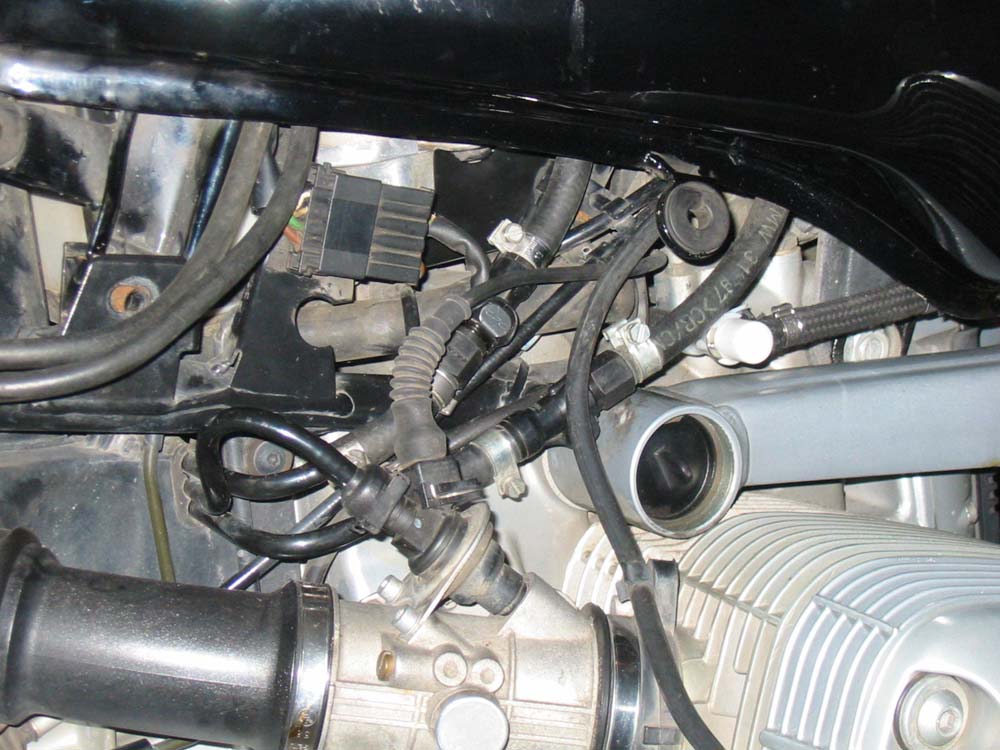
The hose doesn't need to be fuel-injection grade since it will not see any real pressure. I ran it across the engine in back of the alternator, as on the Adventure. You could also run it across the front of the tank over the Telelever as long as you didn't think it would be damaged. Either way, the hose will prevent tank removal unless there is a way to break it, so you should install a coupling in the middle somewhere. I used the 90° quick-disconnect parts from the Adventure:
  16 11 7 666 736  CONNECTING SLEEVE  $25.39

  16 11 7 666 735  PLUG                $25.39

  17 11 1 460 922  CLAMP 12.3MM        $3.17 (2)

  16 12 1 176 918  CLAMP               $3.14 (2)
Note that these parts take a smaller fuel line than the regular QDs used on the main fuel lines. Although there is special fuel line for the Adventure crossover, I used Bing braided hose simply because I had some. The small 922 fuel line crimps barely fit over it, but it worked. The large 918 crimps are slightly too big on the tank end but worked. DON'T try to install this without a quick-disconnect unless you are only ever going to take the tank off when empty. Short of that, you won't be able to take the tank off without spilling a lot of gasoline (think of where it's draining from).

The Siphon Alternative
Whereas this crossover tube is an external tube which bypasses the high partition in the tank, any such tube will continue to level two separate tanks even when parts of the tube rise above the fluid level, as long as the ends are below the highest fluid level and the tube is initially filled with fluid. In fact, you can just hang the end of the tube in the fluid instead of drilling for fittings, which makes it ideal for internally bridging the two halves of the GS tank. This is known as a siphon, and is a great energy-free way to empty the contents of a tank with no drain fitting (like the left side of the GS tank). John Jensen (johnjen-at-comcast-dot-net) markets a simple siphon kit that is inserted into the GS tank and does everything it needs to do.
Lots of people are happy with the siphon. We considered it and only went with the crossover tube because of an inherent limitation in any siphon: it stops working (the tube empties out) when the supply end of the tube runs dry. Normally this isn't a problem, since it doesn't happen until the tank is truly empty (which is the goal of the system). John's kit even provides an easy way to refill the siphon tube when you refill the tank. However, there are two cases where I didn't want to risk losing the siphon effect:
- Dropped bike. While a right-side drop is kind of OK because it moves the fuel to the right, a left-side drop is bad because all of the fuel goes away from the pickup (and then there's no siphon to bring it back).
- Sidestand use, with low fuel. With less than a gallon in the tank, parking on the sidestand could tip the bike enough that the siphon runs dry trying to level the sides. In this case, you would have a totally empty right side and no siphon.
These two cases only happen when you are low on fuel, but that's exactly when you want to be able to use all of it. However, none of this is life-and-death, because the tank can always be removed and tipped to get all of the fuel to the right side. We took the opportunity to install the crossover tube as a bulletproof, worry-free solution that will always get the last possible bit of fuel from the tank, but if you don't want to drill and weld on your tank, the siphon is a fine system.

