K75/100 seat lock repair
by Jon
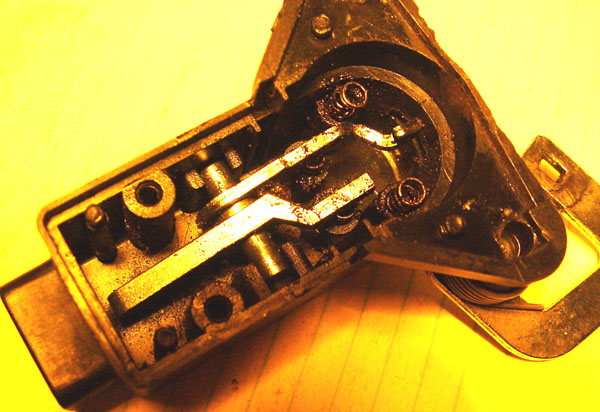
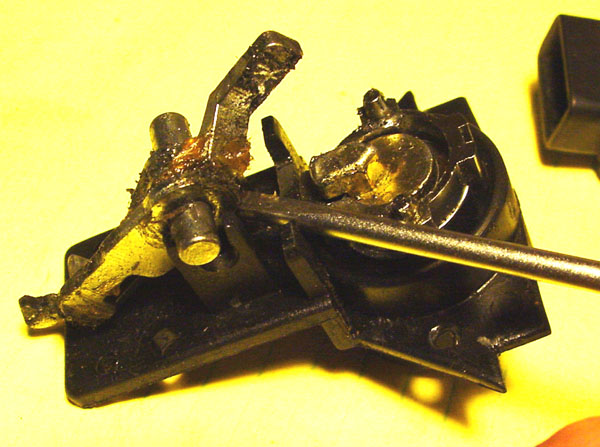
Disassembly
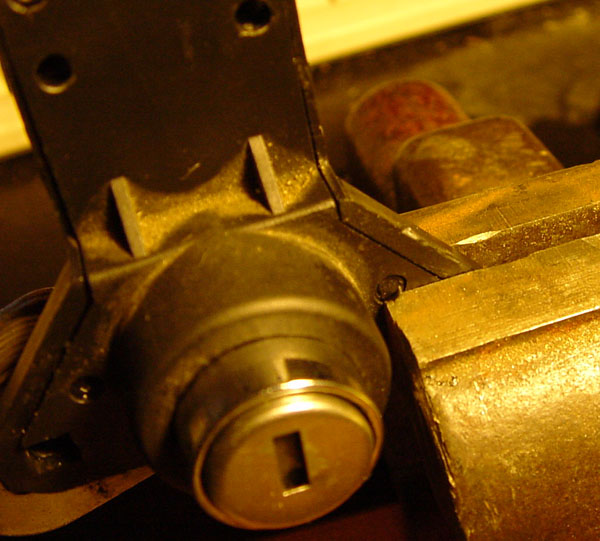
Remove the lock assembly from the frame per instructions in your Haynes or Clymer manual.
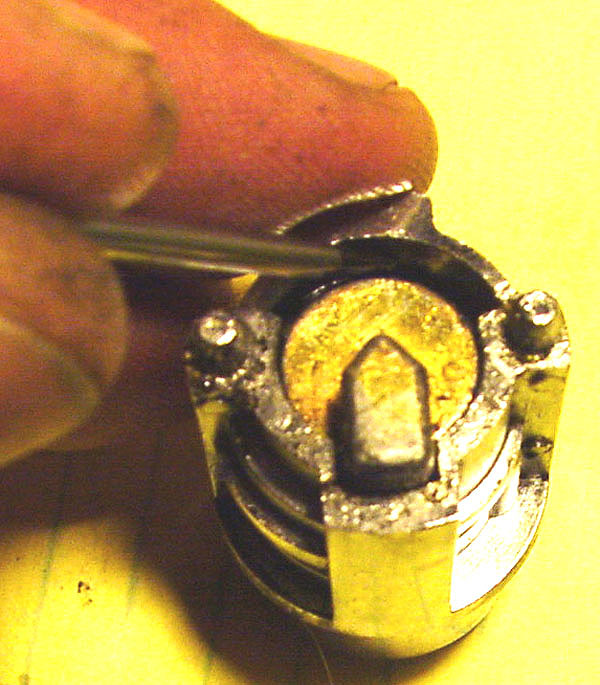
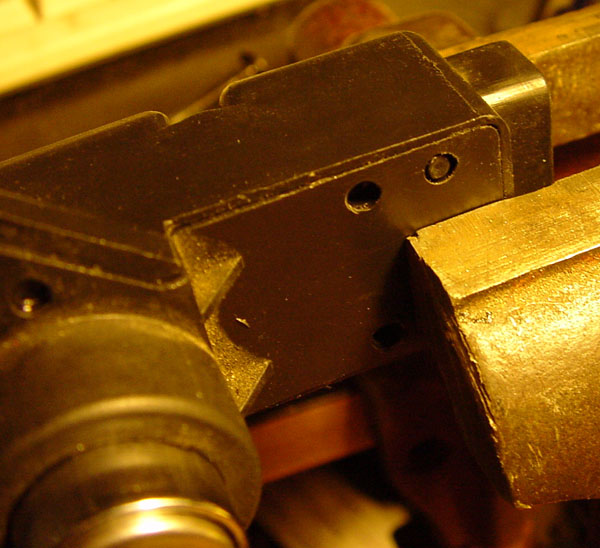
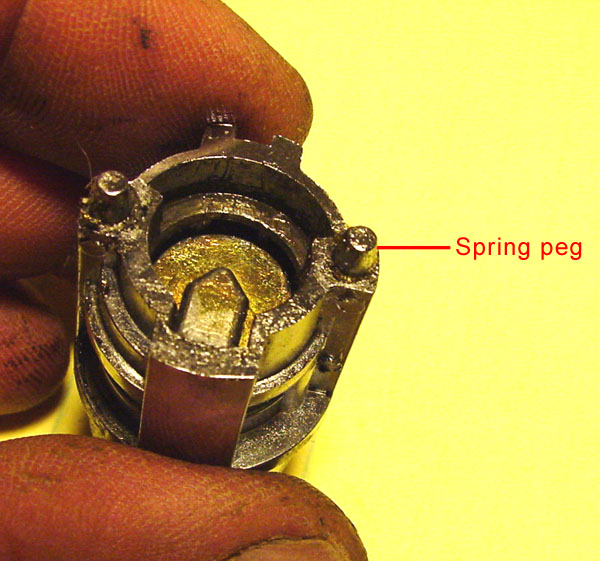
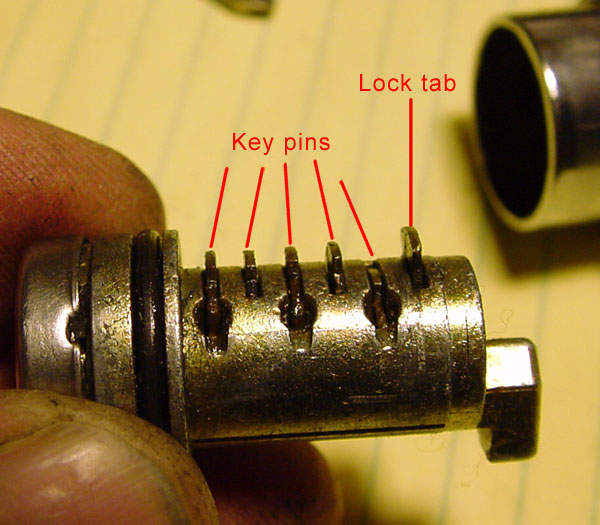
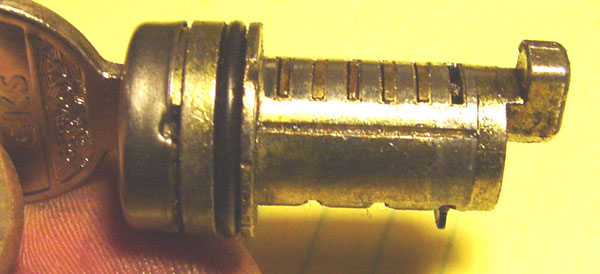
Find the locking tab where shown and depress it into the lock core. I used a small screwdriver.

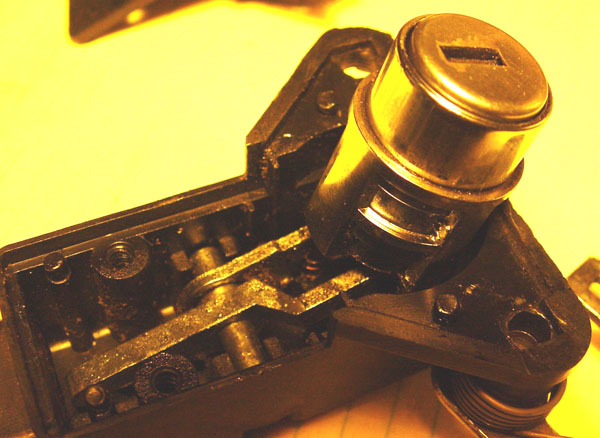
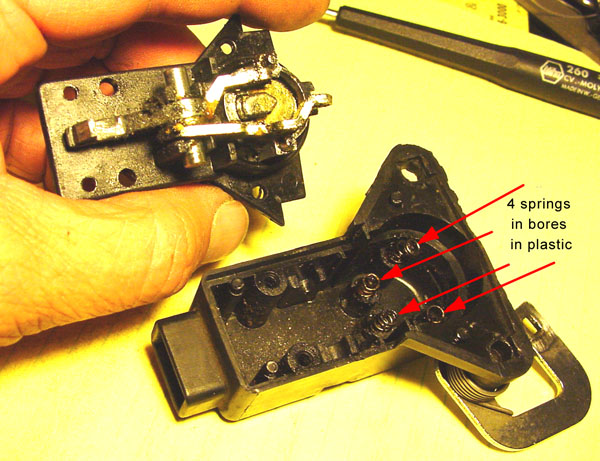
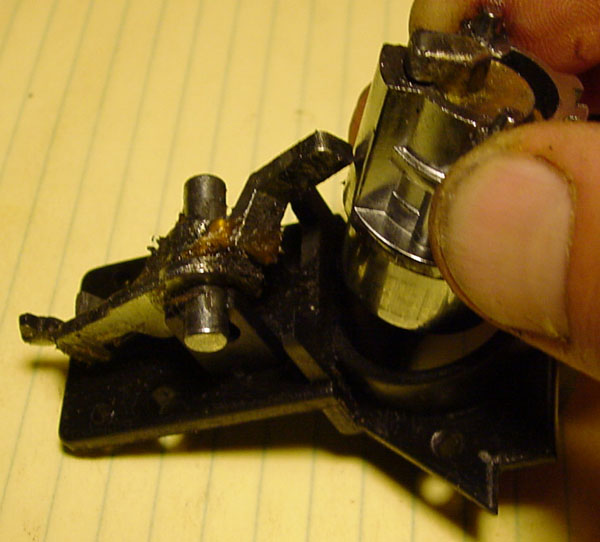
Reassembly
Depress the locking tab and replace the lock cylinder core in the lock cylinder body. Test it and make sure it turns both ways and the detent works smoothly.